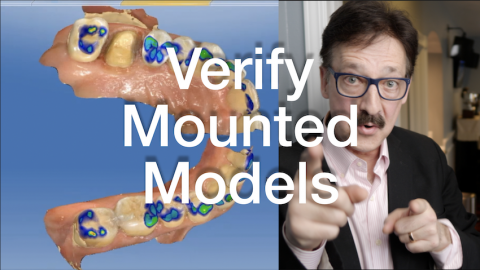
Verify the model mounting before moving to the Design Phase. I have learned this valuable lesson. When the mounted models can be verified, the design process, parameter settings, and the final mill can be trusted. Occlusal verification is one of the critical check factors to avoiding occlusal adjustments of the final restoration(s).
Submitted by James Klim DDS, CADStar host on 11/19/2018 - 9:07pm
Categories:
Submitted by James Klim DDS, CADStar host on 11/11/2018 - 11:32am
Number one reason to upgrade to 4.6 is the improved interpretation for rendered margin clarity. Also, there is improved responsiveness to acquiring ceramics, including e.max. The camera still struggles with shiny alloys. I have never found this a problem; I apply Optistray to decrease the reflective surfaces and acquire an incredible scan quality. This video will highlight the CEREC 4.6 Omnicam scanning qualities and my secret for staying on clinical schedule.
Video Preview
Submitted by James Klim DDS, CADStar host on 11/08/2018 - 9:27pm
Categories:
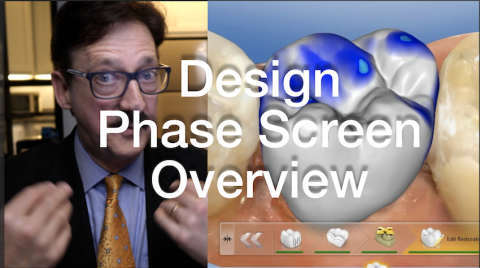
For "bread and butter" posterior applications, the virtual design process is seamless when there is enough occlusal reduction for the chosen material. This video will highlight my sequence for a smooth design phase screen flow.
Video Preview
Members Full Video
Submitted by James Klim DDS, CADStar host on 10/26/2018 - 7:13am
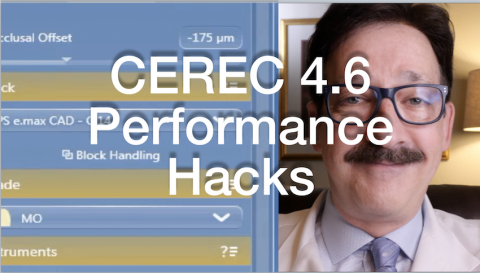
I recommend uploading CEREC 4.6 for just the scanning and margin clarity features. However, keep 4.52 around. There are historical trends for software glitches to be present with new software versions. This videos will share several hacks I use to get through some of the 4.6 glitches.
Video Preview
Video for Premium Members
Submitted by James Klim DDS, CADStar host on 10/07/2018 - 9:57pm
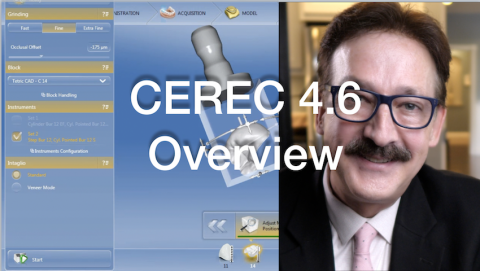
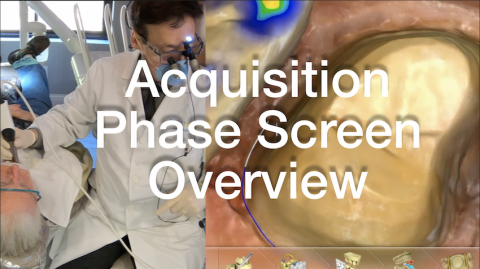
The CEREC 4.6 workflow is very similar to 4.52. The most significant upgrade from 4.52 is the camera scanning proficiency. The camera also picks up shiny surfaces such as ceramic and gold much better than in prior software versions. The model rendering is faster from the Acquisition screen and all the steps in the model screen are automated including setting Model Axis and Drawing Margins. I have found it is better to disable the auto margin calculation unless the margins are high and dry. For larger cases with multiple preparations, the software has a tendency to crash. The software performs much better when margin calculation is
Submitted by James Klim DDS, CADStar host on 09/27/2018 - 1:59pm

I have often received calls from CEREC offices and have had Patterson Dental sent new CEREC owners to my educational center who are struggling with chairside CEREC integration. Going clear back to dental school, there are times that I have struggled with new clinical applications. I have found that integration problems are usually still solved with going back to the basics for the particular application being accomplished. I have found this to be the case with most CEREC integration issues. The beauty of CEREC is that is will refine our prep skills by showing the user where refinement needs to happen. Labs have been dealing with our
Submitted by James Klim DDS, CADStar host on 09/16/2018 - 9:03pm
Categories:

This video shows my full approach for taking upper and lower full arch scans and mounting them with a bilateral buccal scan. This has been the one Achilles heel with the chairside software until now. Now that we have auto-mounting in the Acquisition screen with the buccal scan, we can now get in both sides of the arch for a full seating of the models. Ninety percent of all impressions including study models are taken with the chairside software in my practice. Technique for the full arch scan is critical to make this approach work.
Submitted by James Klim DDS, CADStar host on 07/15/2018 - 1:23pm
Categories:

We all get this situation in our career, second molar crown, and minimal room. This case review documents a solution for difficult access teeth with minimal occlusal room and needs a high stress enduring crown. With CEREC and a broad range of materials, we now have the support for the majority of functional and aesthetic clinical demands that enter our clinical theaters.
Materials used:
- ZirCAD LT (Ivoclar Vivadent)
- Sirona Zirconia (Densply Sirona)
- MCXL Dry Mill (Dentsply Sirona)
- SpeedFire Furnance (Dentsply Sirona)
- CS4 Furnance (Ivoclar Vivadent)
- S1 Furnance (Ivoclar
Submitted by James Klim DDS, CADStar host on 06/01/2018 - 12:27pm
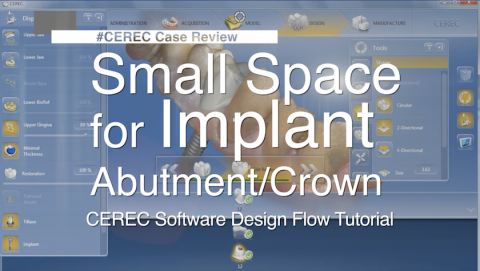
#Case Review and CEREC software design flow for a maxillary premolar implant placement and restoration design when there is limited mesial-distal space. The CEREC stretches a little more for rotated teeth and unique mesial-distal dimension conditions. Design situations like this are when the design tools need to take over. This videos will share my implant CEREC design flow when the initial proposal doesn't seem to work. All it takes is a few strategic steps to get the design back in order.
View Preview Video
Submitted by James Klim DDS, CADStar host on 05/27/2018 - 12:18pm
Categories:
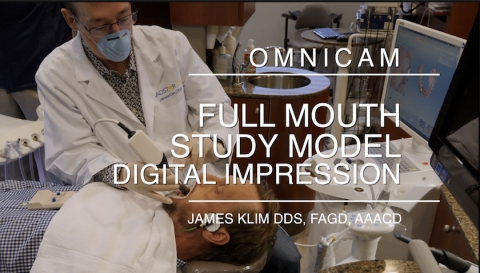
The technique I use takes about two and one-half minutes for upper and lower arches and it does not gag the sensitive patient. For two years now, we have taken Onmicam impressions for study model and appliance impressions in the Klim office. This video will clearly document the isolation approach and Omnican scanning flow to gain a predictable impression result. And by the way, using the technique proposed in this video provides a predictable upper and lower arch mount with just the buccal scan quadrant from one side. This approach is so much more effective than using the Ortho Software, at least at this point in time.