I have often received calls from CEREC offices and have had Patterson Dental sent new CEREC owners to my educational center who are struggling with chairside CEREC integration. Going clear back to dental school, there are times that I have struggled with new clinical applications. I have found that integration problems are usually still solved with going back to the basics for the particular application being accomplished. I have found this to be the case with most CEREC integration issues. The beauty of CEREC is that is will refine our prep skills by showing the user where refinement needs to happen. Labs have been dealing with our
Submitted by James Klim DDS, CADStar host on 09/27/2018 - 1:59pm

Submitted by James Klim DDS, CADStar host on 09/16/2018 - 9:03pm
Categories:

This video shows my full approach for taking upper and lower full arch scans and mounting them with a bilateral buccal scan. This has been the one Achilles heel with the chairside software until now. Now that we have auto-mounting in the Acquisition screen with the buccal scan, we can now get in both sides of the arch for a full seating of the models. Ninety percent of all impressions including study models are taken with the chairside software in my practice. Technique for the full arch scan is critical to make this approach work.
Submitted by James Klim DDS, CADStar host on 07/26/2018 - 9:38pm
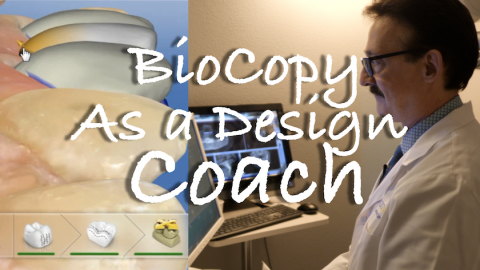
My favored posterior design proposing method is Biogeneric Individual. When in the clinical flow of treating teeth in the upper buccal posterior corridors, I routinely take a BioCopy preliminary catalog scan even when using Biogeneric Individual. During the design phase, activating the BioCopy and using it as a translucent overlay will provide design assistance for the buccal corridor contour and still gain the benefit for superb occlusal morphology that Biogeneric Individual will provide.
View Preview Video
Submitted by James Klim DDS, CADStar host on 07/22/2018 - 9:02pm
Categories:
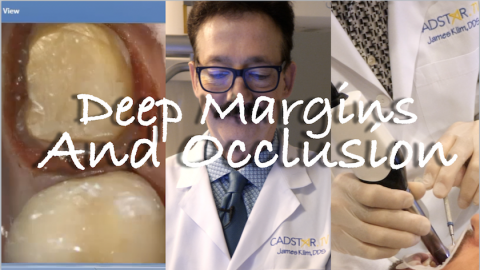
This Klim Digital Moment video is more about my gratitude for the Omnicam. This week I had several posterior molars that were difficult to access with subgingival decay resulting in a deep margin situation. With bur curettage and Hemostatic Gel for hemorrhage control, imaging these deep margins were seamless. Situations like this with an analog impress are almost impossible to accomplish. I am so thankful for Omnicam.
View Video Preview
View Full Video
Submitted by James Klim DDS, CADStar host on 07/15/2018 - 1:23pm
Categories:

We all get this situation in our career, second molar crown, and minimal room. This case review documents a solution for difficult access teeth with minimal occlusal room and needs a high stress enduring crown. With CEREC and a broad range of materials, we now have the support for the majority of functional and aesthetic clinical demands that enter our clinical theaters.
Materials used:
- ZirCAD LT (Ivoclar Vivadent)
- Sirona Zirconia (Densply Sirona)
- MCXL Dry Mill (Dentsply Sirona)
- SpeedFire Furnance (Dentsply Sirona)
- CS4 Furnance (Ivoclar Vivadent)
- S1 Furnance (Ivoclar
Submitted by James Klim DDS, CADStar host on 06/28/2018 - 6:35am
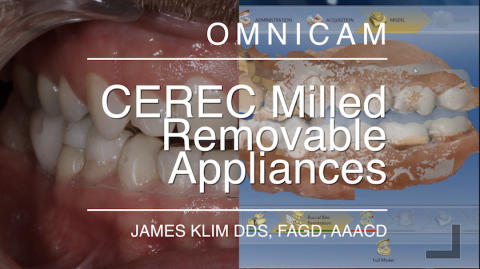
The CEREC software is at a point in time when creativity has new horizons. This video will introduce how I use the software and PMMA Telio CAD blocks to make a splint appliance for TMD clients and part of the preliminary process when increasing the vertical for restorative purposes.
View Preview Video
View Full Video for Members
Submitted by James Klim DDS, CADStar host on 06/10/2018 - 5:37pm
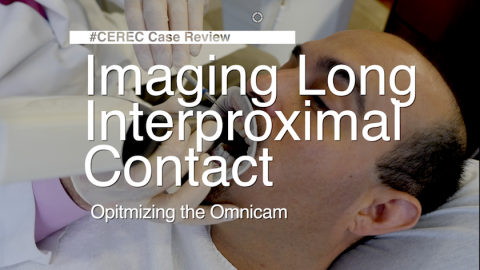
Omnicam interproximal and posterior distal axial surfaces are often difficult to capture when there is a limited oral access. My secret to this dilemma is removing the reflection on the distal vertical surfaces. This video will review the technique I use for very successful imaging.
View Preview Video
View Full Video for Members
Materials:
- Optispray (Dentsply/Sirona)
- Optra Gate (
Submitted by James Klim DDS, CADStar host on 05/25/2018 - 6:37am
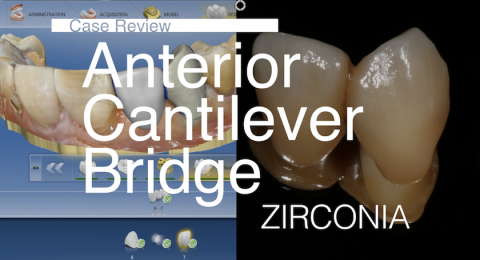
This case review will emphasize the CEREC software flow for an anterior cantilever bridge. There are times a cantilever anterior bridge works out the best for the case. This is one of those case reviews. In fact, zirconia was required due to a more conservative preparation needed on the abutment canine. View Video
Materials Used
- inCoris TZI C A2
- Zircad LT Colouring Liquid (green infiltration)
- Ivocolor glaze and colors
- Fuji Plus resin glass ionomer cement
Submitted by James Klim DDS, CADStar host on 04/12/2018 - 2:13pm
Categories:
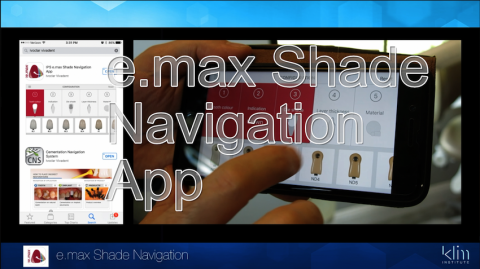
Choosing the right e.max block shade for e.max ceramic restorations can be uncertain. Well, Ivoclar has solved this dilemma by introducing the IPS e.max Navigation App. I have found the App recommended ceramic shade color to be right on. I have modified one measurement though. Choose ceramic thickness at the incisal or cusp location of the preparation. View Video
Submitted by James Klim DDS, CADStar host on 04/03/2018 - 10:24pm
Categories:
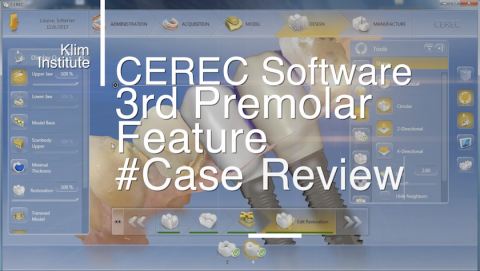
Finally found a need for the Adjust Morphology feature and create a 3rd premolar rather than molar. This feature is handy when there is not enough room for a molar morphological design due to mesial drift of distal tooth, a molar in this case, into the mesial edentulous zone. This video tutorial will also be a unique demonstration for designing two side-by-side implants. In this case Implant Direct Inactive 3.7 and 4.3 implants where placed using the "crown-down" technique and placed with a guide. Virtually planned and guided implant placement can take a difficult implant and restorative situation and provide a very