Submitted by James Klim DDS, CADStar Host on 12/06/2020 - 2:48pm

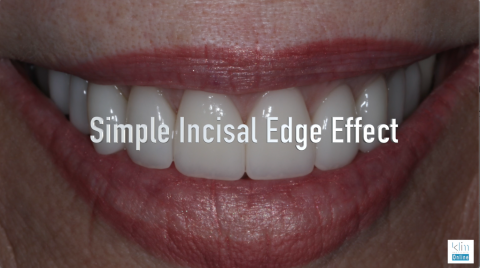
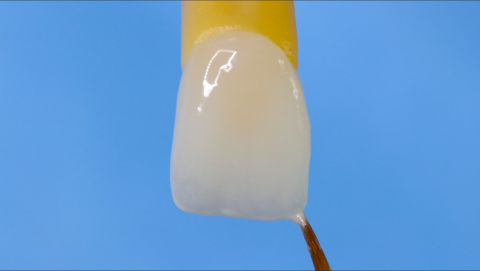
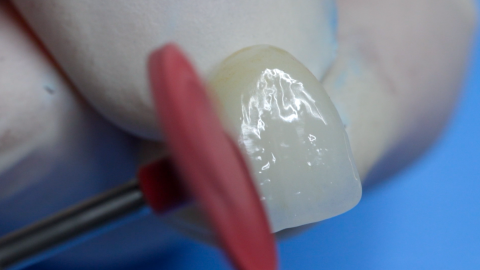
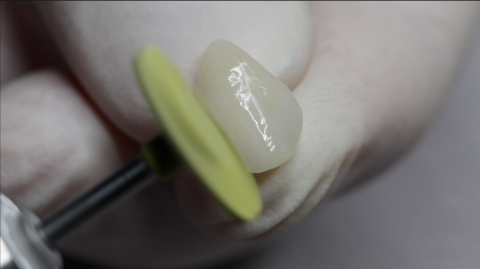
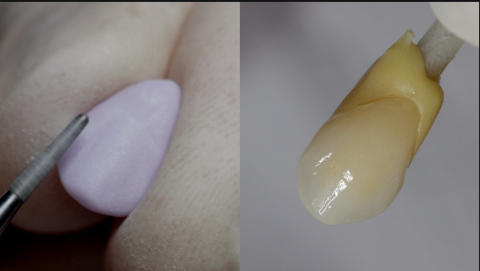
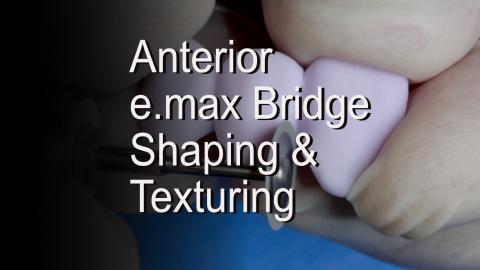
There are a plethora of ceramic finishing videos on this website.  This video will document my workflow for shaping and texturing an eight-unit anterior case.  In this case, Amber Mill, by HASS Bio, is being used. I have discovered that each ceramic such as VITA felspathic, Empress, e.max, Suprinity, or Amber Mill have their own characteristics on how the surface and texturing applications turn out. However, the workflow and principles of shaping and texturing are the same.

Submitted by James Klim DDS, CADStar Host on 10/16/2020 - 12:19pm

This video highlights my anterior prepping workflow for full crowns and scanning with the Primescan.  This approach works well for Omnicam as well.  The bur kit being used is by Meisinger (JK02).  The white stone used for finishing is from Meisinger as well, but not on the prep kit.  Please post questions or comments.  

Submitted by James Klim DDS, CADStar Host on 05/04/2020 - 9:54am

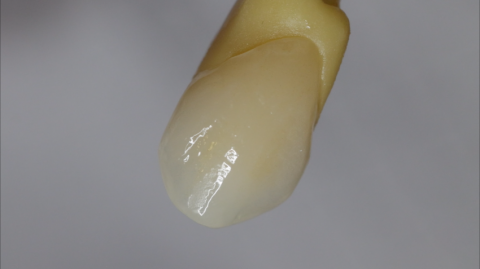
What is the importance of superficial gloss finishing?  In my quest to become a better ceramic artist, discovering the art of texture and luster has been an essential part of creating an aesthetic ceramic personality. Tooth surface texture and enamel luster is an individualized characteristic for each ceramic application we do and is unique to each mouth. This video will walk through my superficial gloss finishing for an anterior ceramic. 

Submitted by James Klim DDS, CADStar Host on 04/22/2020 - 4:33pm

MiYO by Jensen has offered a new way to customized ceramics and zirconia using their translucent coloring system and brush-on ceramics.  This is becoming a game-changer in my CAD/CAM theater.  This video will walk through the MiYO workflow for a single central.  Enjoy!!!!

Submitted by James Klim DDS, CADStar Host on 04/19/2020 - 8:11am

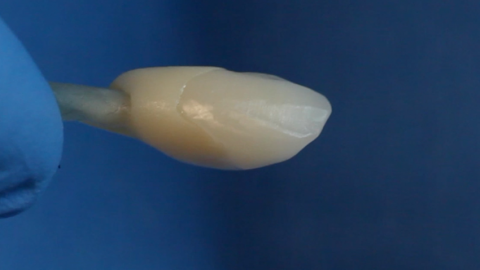
Applying the art and craft of ceramic shaping and micro-texturing takes our aesthetics skills to the next level.  This video tutorial will walk through my shaping workflow for a single central.  As the saying goes, once you have mastered the single central workflow and aesthetic blend, you will have reached the pinnacle for anterior aesthetics clinical applications.

Submitted by James Klim DDS, CADStar Host on 03/18/2020 - 12:11pm

This video will demonstrate the aesthetic transformation of a posterior ZirCAD Multi bridge using the MiYO system by Jensen.  The MIYO liquid ceramic system has transformed my ceramic and zirconia aesthetic clinical theater.  It is a low fusing ceramic system and can be applied to all our CAD/CAM ceramic and zirconia systems. There are many assets to the MiYO system, but several of my favorites is that it is very easy to apply, multiple color combinations can be applied with one application, what is seen in the pre-fired state is what will be observed in the post-fired state, and the color characteristics appear to be embedded in the

Submitted by James Klim DDS, CADStar Host on 03/18/2020 - 11:23am

This is the third video in the posterior ZirCAD Multi bridge series.  For the majority of my posterior bridges, I will polish only, unless the aesthetic blend requires more attention.  This bridge will be placed in the upper left buccal corridor and is part of the secondary smile zone.  MiYO by Jensen will be the stain and glaze product for the final characterizing phase. One thing that is nice about MiYO is that it can be applied to a highly polished surface. With this surface application characteristic, the zirconia bridge can be fully polished in preparation for the MiYO stain, glaze, and structure application.

Products used:

Submitted by James Klim DDS, CADStar Host on 03/01/2020 - 10:43am

Part 2 for creating a posterior ZirCAD multi Bridge.  Once the bridged is machined, what are the steps to effectively shape and finish the bridge before sintering? I follow a routine shaping workflow using the Meisinger JK04 Zirconia Lab Kit. Quite often, when using the multi zirconia options such as Katana or ZirCAD Multi, I will use selective infiltration to control value and enhance the multi-effect when the case demands a better blend.  

  • Meisinger JK04 Zirconia Lab Kit
  • ZirCAD LT Coloring Liquids (Ivoclar)

Submitted by James Klim DDS, CADStar Host on 02/09/2020 - 8:55pm

This video documents my current steps for cementing an implant abutment or one-piece implant restoration on the TiBase.  The protocol that I have changed as of late is using Monobond Etch & Prime rather than hydrofluoric acid and silane.  I have experienced great success with my TiBase created implant restorations.  I have yet to see an e.max or zirconia abutment delaminated from the TiBase in 8 years.

Cementation Steps:

  1. Sandblast the adhesive surface on the TiBase
  2. MonoBond Plus metal priming on TiBase
  3. Fill access screw tube with plumbers tape
  4. MonoBond Etch & Prime internal adhesive 

Submitted by James Klim DDS, CADStar Host on 01/21/2020 - 9:11pm

This video will highlight my anterior ceramic shaping workflow for multiple anterior restorations, particularly when crossing the midline.  However, anterior restorative success is mostly about understanding the patient's treatment expectations and then working through the biomechanical diagnosis and preplanning with either a traditional or digital wax-up.  

The predetermined wax-up prototype is used for preparation guidelines and reduction, transitional restorations when using a two appointment protocol, and a digital BioCopy scan for digital design guidance.  When these preliminary and preparatory guidelines are delivered to the