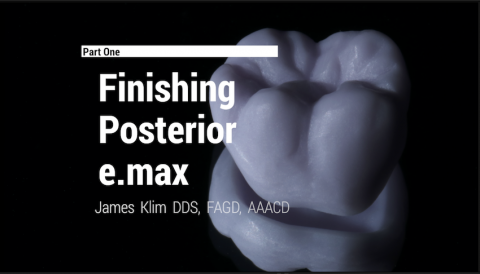
Submitted by James Klim DDS, CADStar Host on 07/07/2019 - 9:48am

When I use the Move Tool assets (Position and Scale), it is usually in the Adjust Morphology BioJaw feature of the CEREC software.  The Move Tool is the tool featured in the inLab digital wax-up software.  The main difference between inLab and the chairside CEREC software for digital waxing is that the inLab provides virtual seating of the designed restorations that can then be exported as an STL file for printing a prototype study model.  This videos will demonstrate the indications when to use the CEREC chairside Move Tools. Design principles apply for the CEREC 5.0, 4.5, and 4.6 software versions.

Submitted by James Klim DDS, CADStar Host on 07/05/2019 - 12:54pm

Design speed is about systematic design steps taken and applying the best tool actions when needed.  This video will convey my favored design tools used 90% of the time in my design theater.  One of them is the 2-Directional Shape Tool with the Circular and the Anatomical features. This video is applicable to both Primescan and Omnicam users, both the CEREC 5.0 and the 4.61 software have the same design features and workflow, with different graphics interphase.

Submitted by James Klim DDS, CADStar Host on 07/04/2019 - 8:45pm

This CEREC design tool saves me the most time in my clinical design theater.  However, there is a must requirement to make it work, adequate occlusal reduction and shaping to make it work.  Let's find out what it is!

Submitted by James Klim DDS, CADStar Host on 07/01/2019 - 10:35pm

There are two tools I use 90% of the time in my design theater, Form and Shape Two Directional.  This video will present the primary design actions I use with the form tool and how best to optimize the paint brush size and strength options.  This video is presented with the Primescan interphase. However, the tools and applications are applicable for those still using the Omnicam and CEREC 4.61.

Submitted by James Klim DDS, CADStar Host on 06/27/2019 - 9:17pm

The Manufacture Phase Screen has the same setup features as in the prior CEREC 4.61 screen.  Occlusal Offset is the significant factor in this screen and getting it right on to avoid adjusting occlusion on the milled seated restorations.  Milling speed and bur size are chosen by material and margin thickness objectives for the case.  

Submitted by James Klim DDS, CADStar Host on 06/23/2019 - 10:23pm

This video is a design screen overview for bread and butter posterior dental applications.  When applying consistent sequential disciplined design steps, one will discover that the design time will significantly speed up.  The design principles and steps in this video apply to 4.6 users as well...just a different graphic interphase between 5.0 and 4.6 CEREC software versions.

Submitted by James Klim DDS, CADStar Host on 06/20/2019 - 9:20am

Even with a fully automated model screen, there are four checks I use before proposing to assure restorative fit.  This video will share my model screen hacks to save the day.  CEREC 4.61 and 5.0 software versions are the same, just different graphics interphase.  The principles of this video apply to the 4.61 software version as well.

  • Bite Registration
  • Model Axis
  • Margins
  • Insertion Axis

Submitted by James Klim DDS, CADStar Host on 06/10/2019 - 7:58am

This coming fall, I will be adding a CEREC Rehab Channel to this site.  It will present a step-by-step approach start to finish using the CEREC Primescan digital platform.  For those with Omnicam, the 4.6 software will be the same applicable workflow.  This video is a rehab overview in response to a question posted on the Ask Dr. Klim Forum.

Submitted by James Klim DDS, CADStar Host on 06/03/2019 - 1:57pm

There are a few adjustments to be made when integrating to Primescan tower, mouse support, touch screen, and a few hacks to work around early adopter glitches.  This video will share the lastest Klim adjustment.

Submitted by James Klim DDS, CADStar Host on 06/02/2019 - 9:40pm

When I think back to dental school days, study models were part of the new patient records collection.  The ease of Primescan imaging can take a digital study model in 3 minutes or less.  The Primescan produces an excellent STL which can be used for a third party software, printing, appliances, aligners, and a digital wax-up.  This video will demonstrate my process for acquiring a Primescan study model.