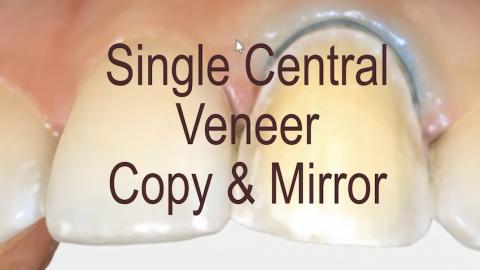
The video is a CEREC case study using Copy & Mirror workflow for a single central veneer. The primary objective for this case is to brighten the tooth value using a conservative veneer to match the adjacent central. Treating a single center is the ultimate aesthetic opportunity. This video will discuss preparation, ceramic choices, and cementation strategies.
Submitted by James Klim DDS, CADStar host on 12/28/2020 - 8:35pm
Categories:
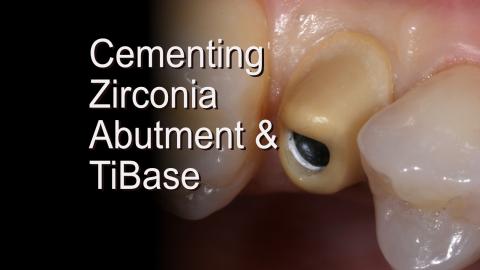
Submitted by James Klim DDS, CADStar host on 12/13/2020 - 4:40pm
Categories:
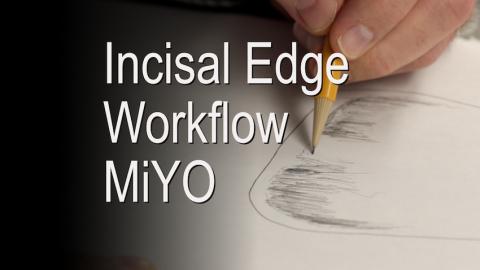
This video highlights my incisal edge workflow using MiYO. There are several advantages to MiYO over other coloring stain and glaze systems. First of all, the lower values, high values, and color applications can be accomplished with one application and firing. Second, what is observed in the application wet stage will be seen in the post-firing condition. Though MiYO has many characterizing and color applications, this video will deal with the color incisal edge strategy setup and color application sequencing. Link to the following video for MiYO mixing and
Submitted by James Klim DDS, CADStar host on 12/06/2020 - 2:48pm
Categories:
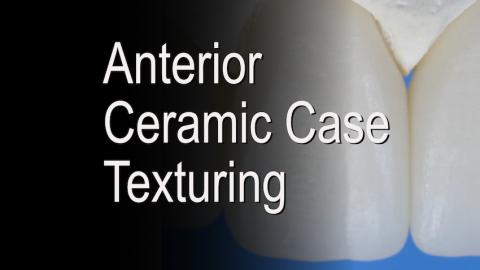
There are a plethora of ceramic finishing videos on this website. This video will document my workflow for shaping and texturing an eight-unit anterior case. In this case, Amber Mill, by HASS Bio, is being used. I have discovered that each ceramic such as VITA felspathic, Empress, e.max, Suprinity, or Amber Mill have their own characteristics on how the surface and texturing applications turn out. However, the workflow and principles of shaping and texturing are the same.
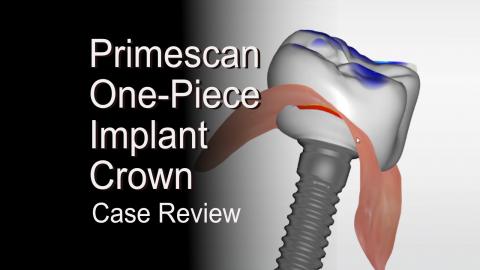
Submitted by James Klim DDS, CADStar host on 11/16/2020 - 9:45pm
Categories:
Submitted by James Klim DDS, CADStar host on 10/22/2020 - 9:11am
Categories:
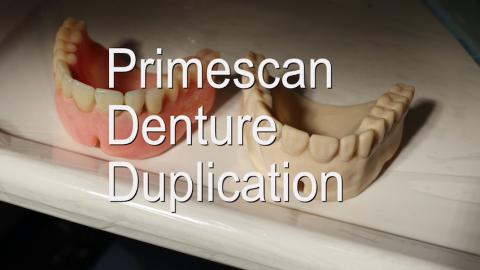
Primescan has opened up my clinical theater for complete digital scans. This video is about the journey of denture duplication for master impression and tooth set up. Please post your questions and comments.

Submitted by James Klim DDS, CADStar host on 09/08/2020 - 9:49pm
Categories:
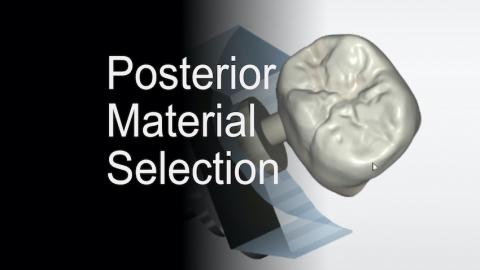
What are your posterior material selections for posterior CAD/CAM dentistry? I get this question all the time. To be reflective, it has changed over the years. I started with ProCAD and Mark materials. Then e.max arrived! Now we have a plethora of zirconia options. This video reviews my current view on CAD/CAM material selections in my posterior clinical theater.
Submitted by James Klim DDS, CADStar host on 07/21/2020 - 10:33pm
Categories:
Submitted by James Klim DDS, CADStar host on 07/19/2020 - 10:32pm
Categories:
Submitted by James Klim DDS, CADStar host on 07/05/2020 - 12:17pm
Categories:
Submitted by James Klim DDS, CADStar host on 06/21/2020 - 10:32pm
Categories: