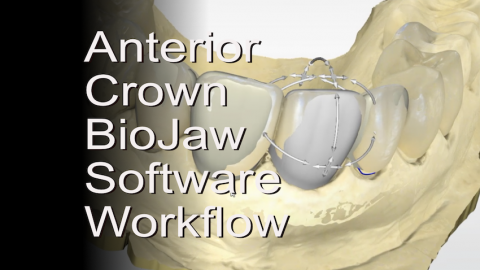
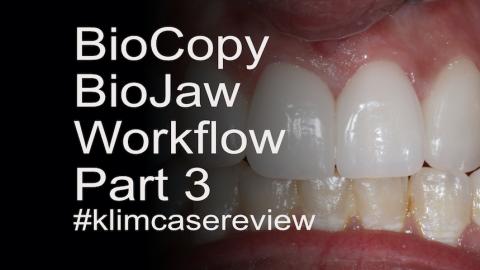
This CEREC software workflow video is about using BioJaw for designing anterior full crowns. I have found this is now my favored approach when designing multiple anterior veneer or crown restorations. In principle, when going into multiple anterior restorations case, a wax-up or mock-up is still imperative for treatment planning, preparation guide, and scanning for a Biocopy catalog. With BioJaw the initial indication tooth type design choice is Biogeneric and not Biocopy. The Biocopy catalog is added to the Acquisition screen from the side panel command. When in the design screen, the BioCopy catalog is used as a virtual guide for
Submitted by James Klim DDS, CADStar host on 05/21/2020 - 4:43pm
Categories:
Submitted by James Klim DDS, CADStar host on 05/19/2020 - 9:11pm
Categories:
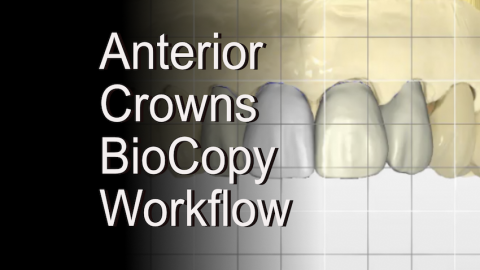
This BioCopy anterior software multiple crown case has been used in my anterior CEREC classes for a number of years. Even though this case is illustrated working on a model, it is a case I did about seven years ago. In this video, I review my systematic software workflow, starting with mastering the virtual midline and creating a virtual design flow resulting in milled restorations that should drop onto the preparations with minimal adjustments, just leaving the micro texturing to work through.
Submitted by James Klim DDS, CADStar host on 05/05/2020 - 3:53pm
Categories:

The anterior BioCopy software workflow has been my main anterior tooth proposing technique going back to 2004. Though I am using BioJaw most of the time now for multiple anterior restorations, BioCopy is still the standard proposing application when there an ideal BioCopy scan and a demand to precisely reproduce the prototype or pre-prepared tooth. This video will review my strategies for case setup and workflow for anterior BioCopy design proposing.
Submitted by James Klim DDS, CADStar host on 05/04/2020 - 9:54am
Categories:
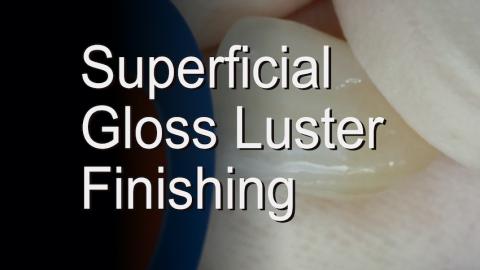
What is the importance of superficial gloss finishing? In my quest to become a better ceramic artist, discovering the art of texture and luster has been an essential part of creating an aesthetic ceramic personality. Tooth surface texture and enamel luster is an individualized characteristic for each ceramic application we do and is unique to each mouth. This video will walk through my superficial gloss finishing for an anterior ceramic.
Submitted by James Klim DDS, CADStar host on 04/26/2020 - 12:17pm
Categories:

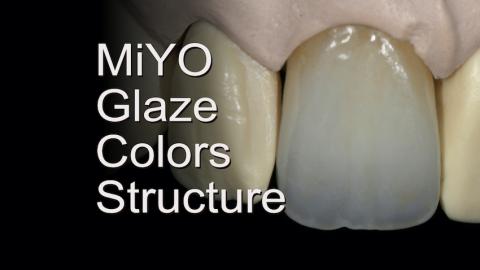
This lesson will walk through a single central workflow using the Primescan, e.max, and MiYO brush-on ceramic. The principles are applicable to Omnicam users.
Submitted by James Klim DDS, CADStar host on 04/22/2020 - 4:33pm
Categories:
Submitted by James Klim DDS, CADStar host on 04/19/2020 - 8:11am
Categories:
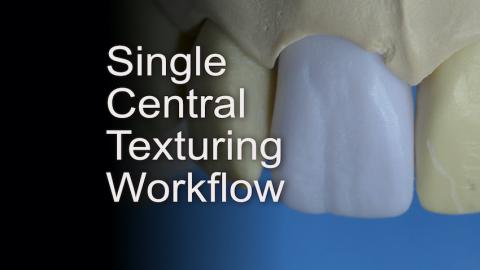
Applying the art and craft of ceramic shaping and micro-texturing takes our aesthetics skills to the next level. This video tutorial will walk through my shaping workflow for a single central. As the saying goes, once you have mastered the single central workflow and aesthetic blend, you will have reached the pinnacle for anterior aesthetics clinical applications.
Submitted by James Klim DDS, CADStar host on 04/16/2020 - 11:10pm
Categories:
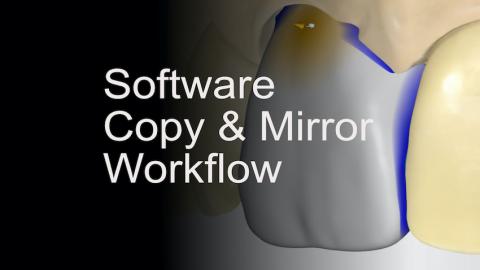
There are four ways to propose in the CEREC software for anterior work. This video will demonstrate the software workflow for Copy & Mirror and is my preferred method when the adjacent central is in good shape and form. This is Part one in a series of start to finish (shaping, stain/glaze, and polish) for a single central.
Submitted by James Klim DDS, CADStar host on 04/03/2020 - 4:58pm
Categories:
The ceramic milled and finished restorations just dropped in! I have noticed better contact precision when designing multiple side-by-side restorations with Primescan. We did have one hiccup with this case. The centrals needed a brighter shade. This video will share how the two e.max cental restorations where cemented temporarily and rescanned, used for BioCopy design, and then milled for a brighter shade. Shade issues happen occasionally when working with thin ceramics, this is my workaround method for cases like this!
Submitted by James Klim DDS, CADStar host on 04/03/2020 - 4:54pm
Categories:
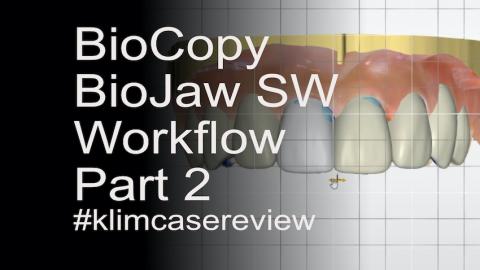
Anterior BioJaw is a software feature where the user can choose from templates and design a virtual smile setup. The BioCopy catalog is used as a virtual position guide for tooth size, position, and tip. The value of BioJaw is the resulting cleaner virtual design than with BioCopy design. This video will journey through the software design workflow for multiple anterior virtual designs using BioJaw.