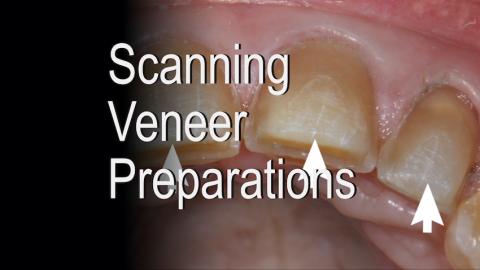
This video documents my workflow for scanning in veneers with Primescan. This technique works well for Omnicam users, however, a light mist of Optispray will be needed to define the interproximal margin zone when using Omnicam. Primescan has solved so many scanning issues of its predecessors (Omnicam and Bluecam). Primescan is definitely a dream and captures thin enamel margins and undercuts to provide well-defined images and clean margins.
Submitted by James Klim DDS, CADStar Host on 11/08/2020 - 10:59am
Categories:
Submitted by James Klim DDS, CADStar Host on 05/23/2019 - 6:24pm
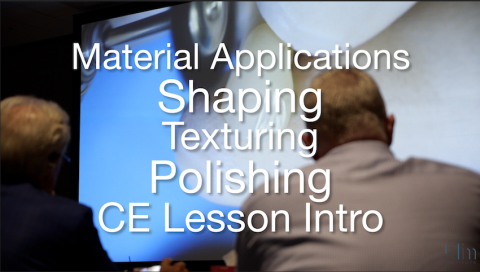
Introduction overview video for a Klim Institute Online AGD CE lesson; Shaping, texturing, and polishing techniques for the primary materials we use in CEREC (composite, Empress, VITA ceramic, e.max, and zirconia options). This lesson is a compilation of videos that Dr. Klim presented at a recent AACD hands-on course. Enjoy! Start the 1.0 unit of CE lesson by clicking on the link below.
Submitted by James Klim DDS, CADStar Host on 03/04/2019 - 7:55am
Categories:
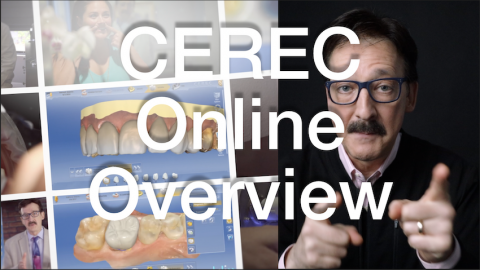
This video shares my passion for why I love providing online CEREC education. I have been so blessed by making a decision 15 years ago to integrate CEREC into my clinical theater. Fast forward to the latest Primescan! It is hard to believe how this restorative digital journey has evolved to now impacting a significant part of my daily clinical chairside care.
- Restorative Restorations
- Implant Placement (Crown Down Technique)
- Implant Restorations
- Bridges
- Removable Appliances and Splints
- Comprehensive Restorative Care
- Restorative Implant Hybrid Prosthesis
- Digital
Submitted by James Klim DDS, CADStar Host on 11/08/2018 - 9:27pm
Categories:
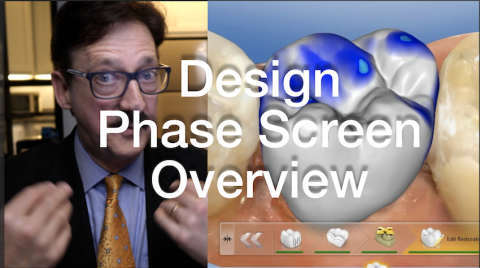
For "bread and butter" posterior applications, the virtual design process is seamless when there is enough occlusal reduction for the chosen material. This video will highlight my sequence for a smooth design phase screen flow.
Video Preview
Members Full Video
Submitted by James Klim DDS, CADStar Host on 09/30/2018 - 5:29pm
Categories:
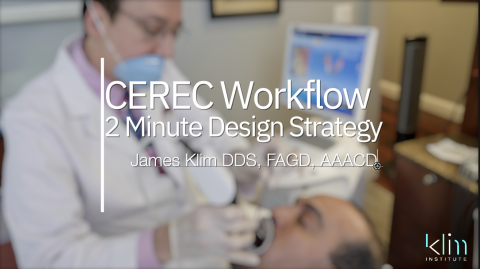
Part two video for optimizing your CEREC software clinical flow. This is a longer video than most of mine. However, I think it will keep your attention interest. This video reflects my CEREC software workflow for a two-minute design sequence for a posterior restoration. The workflow and design tips provided in this video have solved the design and fit issues for several dozen dentists who quit using or were planning on returning their CEREC due to integration and quality frustrations.
View Preview
Submitted by James Klim DDS, CADStar Host on 09/27/2018 - 1:59pm

I have often received calls from CEREC offices and have had Patterson Dental sent new CEREC owners to my educational center who are struggling with chairside CEREC integration. Going clear back to dental school, there are times that I have struggled with new clinical applications. I have found that integration problems are usually still solved with going back to the basics for the particular application being accomplished. I have found this to be the case with most CEREC integration issues. The beauty of CEREC is that is will refine our prep skills by showing the user where refinement needs to happen. Labs have been dealing with our
Submitted by James Klim DDS, CADStar Host on 09/10/2018 - 9:28pm

Due to conflicting schedules, I will not be able to make it to Dentsply Sirona World 2018. If I were there, one of my topics would be mounting a full upper and lower arch digital scan with a bilateral buccal scan in the chairside CEREC software. I use this approach often for appliance printed applications.
General Video Viewing
Submitted by James Klim DDS, CADStar Host on 04/12/2018 - 2:13pm
Categories:
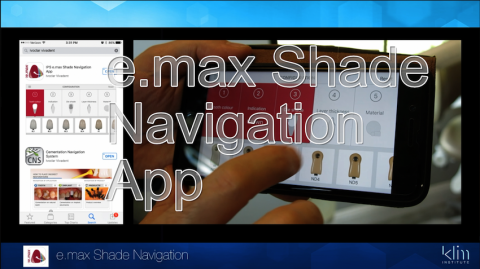
Choosing the right e.max block shade for e.max ceramic restorations can be uncertain. Well, Ivoclar has solved this dilemma by introducing the IPS e.max Navigation App. I have found the App recommended ceramic shade color to be right on. I have modified one measurement though. Choose ceramic thickness at the incisal or cusp location of the preparation. View Video
Submitted by James Klim DDS, CADStar Host on 04/03/2018 - 10:24pm
Categories:
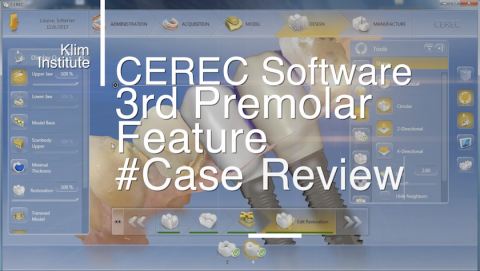
Finally found a need for the Adjust Morphology feature and create a 3rd premolar rather than molar. This feature is handy when there is not enough room for a molar morphological design due to mesial drift of distal tooth, a molar in this case, into the mesial edentulous zone. This video tutorial will also be a unique demonstration for designing two side-by-side implants. In this case Implant Direct Inactive 3.7 and 4.3 implants where placed using the "crown-down" technique and placed with a guide. Virtually planned and guided implant placement can take a difficult implant and restorative situation and provide a very
Submitted by James Klim DDS, CADStar Host on 10/23/2017 - 5:49pm
Categories:

When we make a focused effort in the design screen to make each stroke of the mouse count, we will become efficient and before you know it, your design speed will significantly increase. This tutorial will introduce my three basic design steps I go through to accomplish each design step in a very efficient timeline. View Video