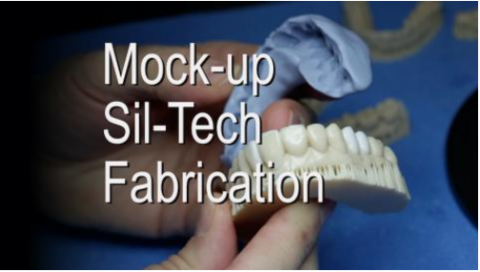
Fabricating and using a Sil-Tech aesthetic jig is a predictable asset for aesthetic mock-ups. This video will review applications for a prototype before and during an anterior smile treatment and then the fabrication process for a mock-up Sil-tech jib.
Submitted by James Klim DDS, CADStar Host on 07/02/2023 - 11:47am
Categories:
Submitted by James Klim DDS, CADStar Host on 06/23/2023 - 5:57pm
Categories:
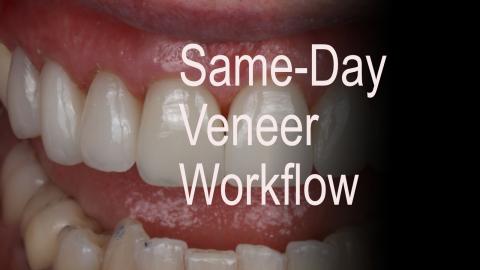
The workflow present in the video is the strategy I use to complete a veneer case in the same appointment. Several pointers will help the process. One, go in with a mock-up and complete the projects in sections, so the milling starts early in the appointment. Two, have a predictable design and milling strategy, have the glaze coloring system down, and gain outstanding results.
Submitted by James Klim DDS, CADStar Host on 05/29/2023 - 5:51pm
Categories:
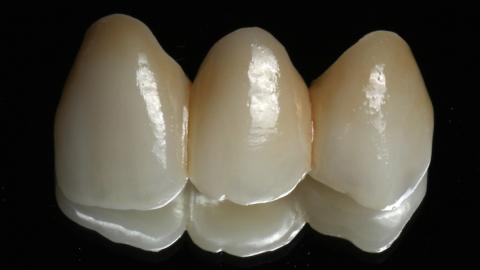
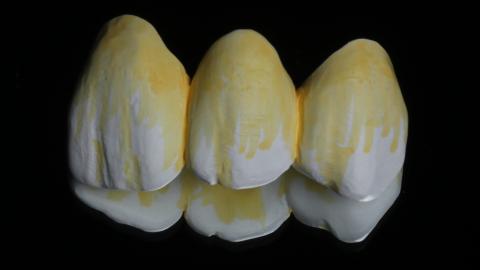
MiYO Esthetic is the magic layer to our zirconia aesthetic restorations. With this material, I can intermix and blend with adjacent e.max restorations. With the aesthetic zirconia, choose one to two shades darker than the target shade, and place MiYO Esthetic on just the buccal/labial surface. This video will demonstrate using MiYO Esthetic on an anterior ZirCAD MT Multi zirconia bridge.
Submitted by James Klim DDS, CADStar Host on 05/29/2023 - 3:26pm
Categories:
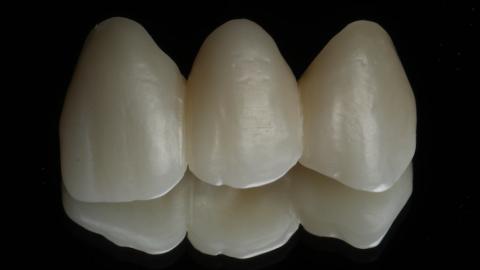
The most optimal zirconia surface wear against a natural dentition is polished zirconia. It is kinder than a class IV gold. This video will break down the steps and polishing tools to effectively polish the anterior bridge's lingual and pontic tissue surfaces. However, leave the labial surface unpolished to retain the surface texture for MiYO Esthetic application.
Submitted by James Klim DDS, CADStar Host on 05/29/2023 - 2:54pm
Infiltration may not be necessary in every anterior zirconia bridge case. However, it will come in handy for cases with deeper cervical dentin saturation and does help in creating the illusion of separations for the pontic. This video will illustrate applying a single infiltration color using ZirCAD LT Coloring liquids on a ZirCAD MT Multi zirconia anterior bridge. When infiltration is applicable for the case, this is applied in the green zirconia condition, and the restoration is sintered using the added drying cycle in the CS6 and the SpeedFire.
Submitted by James Klim DDS, CADStar Host on 04/26/2023 - 7:50pm
Categories:
Submitted by James Klim DDS, CADStar Host on 04/17/2023 - 8:46pm
Categories:
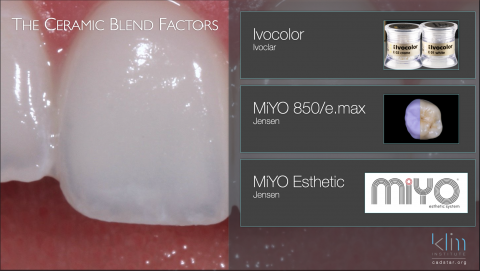
The video will rate my favored Stain and glaze systems for ceramics and zirconia. The top of my list is Ivocoloar by Ivoclar, MiYo 850, and MiYo Esthetic by Jensen. These systems are taking our monolith restoration to a new level. Do we need them all, or is there a universal option?
Submitted by James Klim DDS, CADStar Host on 03/22/2023 - 12:42pm
Categories:
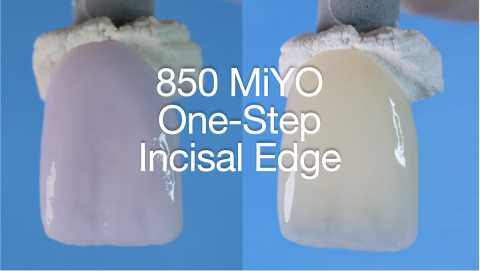
MiYO 850 has transformed my aesthetic clinical theater for e.max. By adding 850 glaze and colors for the crystallization firing, saves significant clinical time, and elevates the aesthetic outcome for e.max. This video is the one-step for creating a natural incisal edge and applying the glaze and colors on a blue e.max block.
Submitted by James Klim DDS, CADStar Host on 02/09/2023 - 6:52pm
Categories:
Submitted by James Klim DDS, CADStar Host on 02/03/2023 - 1:06pm
Categories:
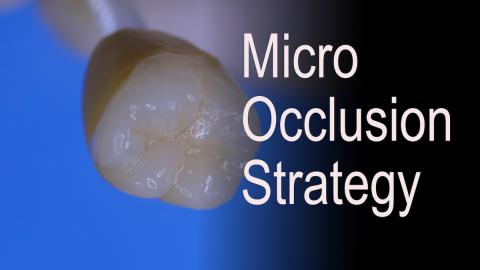
So here is my post-mill workflow, remove sprue, customize the primary, secondary, and tertiary texturing features, and place one application of 850 MiYO glaze and color. Sounds simple; it is! My software design strategy is creating 95% of the tooth-shaped features in the software. Post-mill shaping and texturing become streamlined. This video is the post-mill workflow for a canine. Enjoy! Build your skill set, one video at a time.